


How to disable USB selective suspend
If you’re having connectivity issues with USB peripherals on Windows 10, use these steps to disable the USB selective suspend feature.
Important: It’s only recommended that you change this particular setting when you’re experiencing problems with a USB device. Otherwise, you should leave the option enabled.
- Open Control Panel.
- Click on Hardware and Sound.
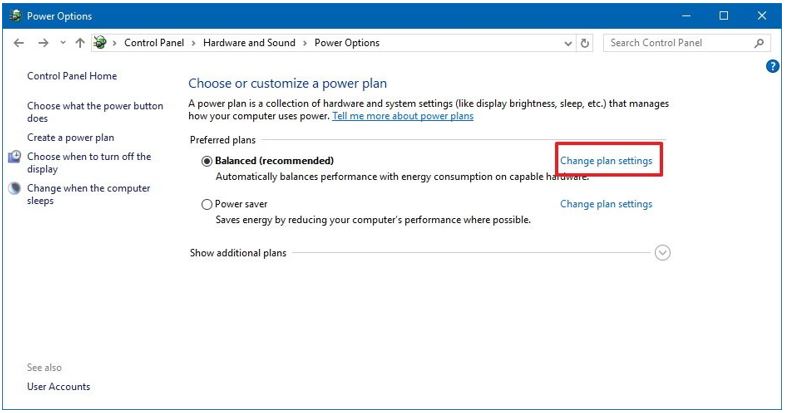
- Click on Power Options.
- Under “Preferred plan,” click the Change plan settings link for the plan you’re currently using. (If you change the settings on the power plan that isn’t active, this won’t work.)
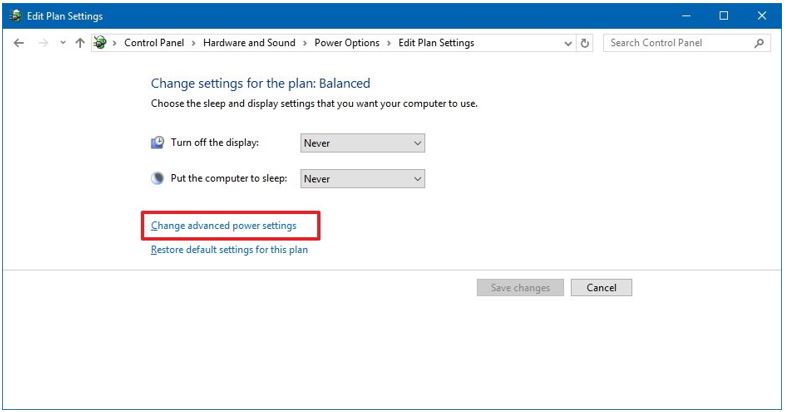
- Click the Change advanced power settings link.
- Expand USB settings.
- Expand USB selective suspend setting.
- Select Disabled from the drop-down menu for both On Battery and Plugged In.

- Click Apply.
- Click OK.
Once you complete these steps, Windows 10 will no longer power off USB devices connected to your computer, which can fix any problem you may have as a result.
