


How to set Default Audio Properties
The MedRx products requite that the computer is set to the default audio device. If this does not occur, you may see errors such as pix audio, auto leveling or music playing during REM. To prevent these errors, you should be sure that the audio properties are set correctly. To do this you should open MedRx Studio, from the module selection screen choose the settings wheel and navigate to hardware

You will then select Sound Control Panel. This will pop up the Windows audio settings. The MedRx device may be set as the default device initially and we must change this.
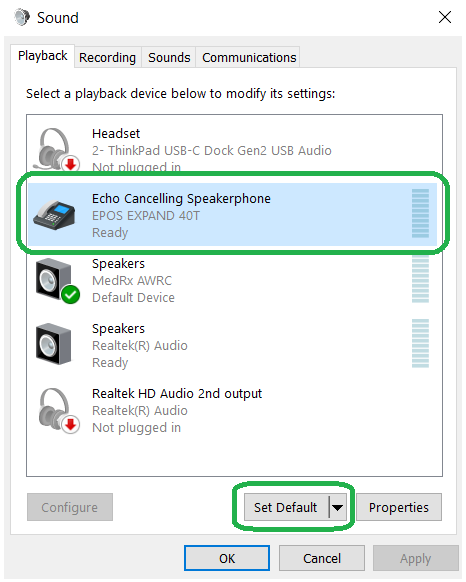
Select the device you wish to be your default device for conference calls and general audio, then click Set Default. Do this for both the Playback and Recording Tabs. The MedRx devices must not be the default devices.
Next you will select the MedRx device and click the Properties button

Click the “Advanced” tab and confirm that the Default Format is “2 channel, 16 bit 44100 Hz (CD Quality)” and both Exclusive Mode check boxes are checked.

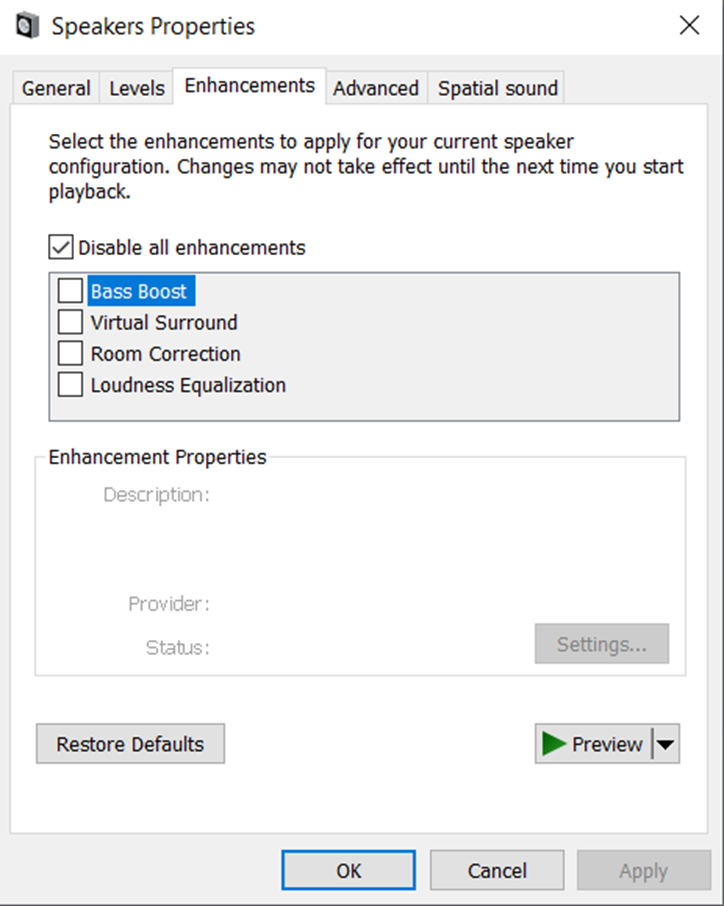
If the properties of the MedRx system has enhancements, navigate to the Enhancements tab and select Disable All Enhancements.
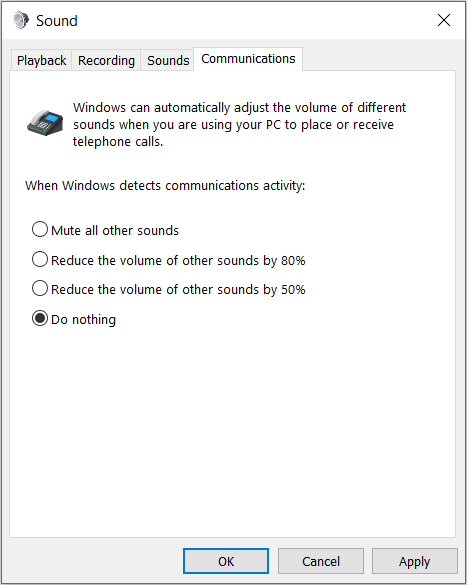
Next go to the Communications Tab and select “Do Nothing”
Next follow these same steps for the MedRx device under the Recording tab.
